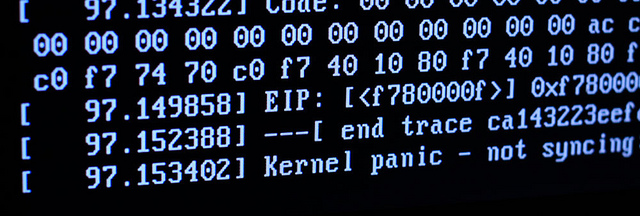
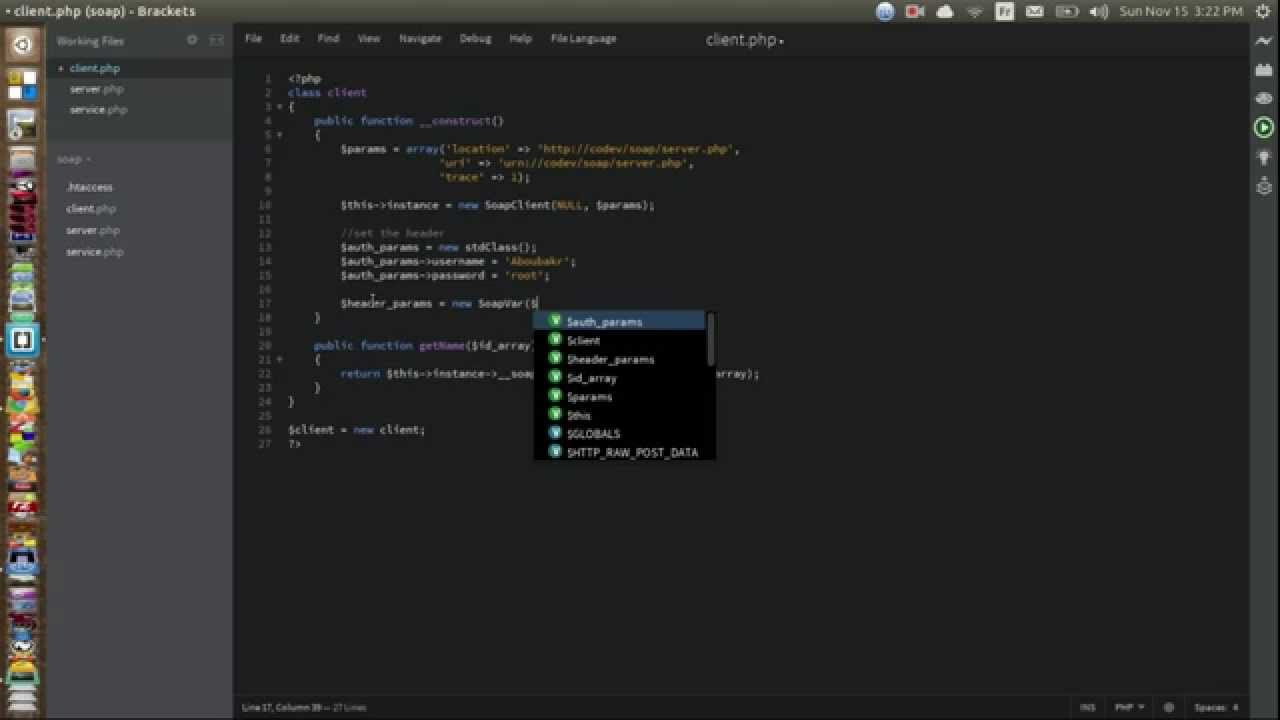
My hands stumbled upon an old backup of my files dating back to 2008. Out of curiosity, I started checking the folders, and here I am right in front of them!
A series of blogs I made when I was writing a new kernel for fun. Unfortunately, that blog is long gone, and so are its articles. However, I managed to fetch these drafts that were the core of my posts’ content back then. I couldn’t locate a full backup, neither have I paid much attention to it at that time. Now, it feels nostalgic, and the least I can do is to re-share them anew. So, here we go and keep in mind, I’ll drop a lot of parts, and I won’t improve them. They’re shared for the sake of self-motivation and a little help to someone in the future, who might find them useful.
I won’t fix any typos, syntax, grammar, punctuation, or orthography errors. I want to conserve them as they were to be reminded of the old me.
Enjoy the broken English full of real enthusiasm for what I was writing for.
Intro (2008)
Oh yeah!
It is as it sounds, years ago I started something like that and reached to write my own Kernel and my small Shell, it wasn’t a University project but my self project to have fun with, I wasn’t even at University yet, I’ve decided to re-do it again after discussing a topic somewhere.
I know it would bring me beautiful memories that I miss long time ago, in fact that thread brought those memories to me, oh my good old days! where are you now!
I still remember that OSDEV was like a treasure for me, and I would like to thank them very much on behalf of everybody who use[d] an article, a lib, and information from that great castle of OS knowledge.
This first post won’t be any technical article as I used to write but an emotional one and I have my reasons.
The idea of writing an OS didn’t sound as it should for me years ago, I could be naive enough and I imagined that I could do that using QBasic 😀
Believe me, I started writing a whole shell with QBasic, to create/delete/copy/list file[s]/directory, to encrypt/decrypt text/text files and so on, the first problem I faced was that I wanted to launch two tasks together but I couldn’t, after searching the net when I wasn’t able to connect everyday or even every week, I was the first time exposed to what called multi-threading or multi-tasking coding, I still feel the great joy to understand the concept, damn it’s so good man!
After that I had realised that I need[ed] something better than QBasic, so I found the ANSI C after a month or more, I first tried WatCom and LLC compilers, then Visual C and I ended with my Fav MingW gcc, I’m not going to discuss how did I learn the C and how hard it was to find educational sources and tutorials but I’m very thankful to that experience a lot.
After writing some code, I put it on a Floppy Disk and rebooted then waited! and waited! and waited!
But nothing’s happened!
I wondered for some days, why it didn’t boot and because of my lack of English it took some good time to understand what is a bootsector/Mbr, a bootloader and a bootstrapper, then the Kernel!!
From there my journey began, and I spent a whole year improving my English alongside my C knowledge by myself to achieve that, and here I am taking the Road I started years ago, I feel excited to do so except that I was on Windows that time, and I’m on Linux this time!
I’ll keep you updated guys, but I will delay it for some days to help a friend on his last year[‘s] project, it’s in PHP/MySQL not C 😉
See you next!
Part 1 (2008-2009)

Here I’m going to explain a little bit what is a boot loader and how to write one, this part would require some previous assembly knowledge, at least the basics and how does this beautiful language deal with the Stack and the Registers, I’m going to adapt a Cook-Book policy here but I’ll add some more rational explanations to a certain extent.
So, let’s ask this question:
what is a Boot Loader?
The Boot Loader is a small program that helps the machine to start up, or let’s say, it guides the machine through the start up process and it tells it where to go and what to do, as a lazy definition, it takes control after the machine powers on.
I know that you’ll wonder how would a PC recognize the Boot Loader?
How will it point straightly to the Boot Loader address?
And a couple of other mysterious questions! In fact, the concept is easier than what you think, it’s been a standard that all the PCs are pre-programmed to check any given Data Drive for a Boot Loader by reading the first sector on it, which they call the Boot-Sector, as you should know each sector is a 512 Byte, that means the PC will check the first 512 Byte of the HDD, Floppy, CD-ROM, or whatever you chose to boot from, and it will start reading the program situated at a well predefined linear address that is 0×7c00 (7c00h).
From our previous introduction, we have realised that we need to write a 512 Byte program that will be placed at the 0×7c00 address, don’t panic I know a 512 Byte is so small for a program to be written and I know you’re thinking how to put your code on the first sector!? We’re going to explain this now.
As for this step I chose FASM instead of NASM that I had used to work on for several reasons and since we’re not here to discuss this VS that, I’m jumping that debate.
Our first BootLoader (sorta)
Let’s write a “Salam World!” BootLoader that will print for us the Message ‘Salam World!’, we’ll get more than enough understanding in this step, and everything after it will be easy.
By the way, a 512 Byte is not that small when we speak about flat binaries written in assembly, and another thing is that the Machine will search for the BOOT SIGNATURE as well at the end of the boot sector.
This boot signature is nothing than a WORD (2 Bytes) that are: AA55h, we put it at the end of the 512 Bytes, so we have now 510 Bytes to write our first bootloader and let’s do it right now:
P.S: I have documented each line here so that I won’t need to explain anything after that
; Author  : OUAHABI ABOUBAKR SEDDIK
; Purpose : Educational purpose for my blog
; Assembly: FASM
; Version : 0.0.1

format binary as ‘img’        ; Let’s create a floppy disk Image Binary
org 7c00h                          ; The address where our code will be loaded

; Let’s initialize our Stack address as we need it to point at the beginning
; So that SS (Stack Segment) would be pointed to ‘0′ and SP to ‘7c00h’
; And we’ll have at the end the SS:SP = 0:7c00h just as we need it to boot up

xor ax,ax              ; just to make sure that ax=0 for now

cli                        ; we stop the BIOS Interrupts at this stage by (Clear Interrupt Enable Flag)
mov ss,ax            ; we put ‘0′ into SS the Stack Segment
mov sp,7c00h      ; Make the General Purpose Register SP (Stack Pointer) to point to ‘7c00h’

sti                      ; we start or enable the BIOS interrupts again  by (Set Interrupt Enable Flag)

mov ds,ax           ; Initialize the DS (Data Segment) register as well
mov si,slmsg       ; put our message’s address into the si (Stack Instruction) register


; Let’s prepare our BIOS interruption parameters here

xor bx,bx            ; To make sure that bx=0 now since we’re going to use it later

PrintChar:          ; Creating the Character Printing Label

lodsb                  ; restore the byte pointed to by SI into AL then moves SI to point on the next Byte
or al,al               ; to check that we haven’t reached the end of the message yet, that’s known by the ‘0′
jz PressKey         ; If al=0 (ZF is set) it means the ‘end of message’, then we make a jump to the PressKey Label

mov ah,0eh         ; the 0eh function on the INT 10 as the manual said refers to (AH=0Eh Write Character in TTY Mode)
mov bx,07h         ; We just set the text and the background color to the usual Black & white

int 10h               ; Here we invoke the Video Services Interruption INT 10
jmp PrintChar     ; Go back to print the next Character since we are not at the end of our message

PressKey:           ; Creating a Label that will wait for any pressed key to past the control to the SS:SP again

mov ax,0000h     ; Make sure AH=0, When AH=0, then the keyboard will read a Character
int     16h          ; This interrupt will invoke the Keyboard communication routine number AH
int     19h          ; This will load the Boot Sector again into memory at 0:7C00h, then transfers the control there.


slmsg db ‘Salam World! Plz Press Any Key’, 00h        ; Just our Message declaration

rb 510 + $-$     ; make our exact 512 Bytes needed for the boot sector

db 055h, 0aah    ; Put our Boot Signature at the last 2 bytes
This BootLoader will boot up your PC then it will display a ‘Salam World! Plz Press Any Key’ Message and it will wait till you press any key to give the control again to the beginning of the code, as a result you will be taken back to display that message again and again, and all you have to do is to compile it using FASM.
For the moment, this IMG file can be tested using a Virtual Machine or a real Machine but I recommend for you QEMU, so that you won’t need to reboot your PC times and times again, and I have to mention that we needed to adapt our code to fit in the whole 1.44 MB of the floppy disk, which can be done easily but I want to delay it for later.
Later, we will be addressing how to make our code bootable from a CDROM.
Stay Tuned for the 2nd Part.


